pi tin
[a project by alley cat engineering - jackw01 and soaporsalad]the open source raspberry pi handheld retro gaming console
Buy a kit on Ko-fi Download STL files Download SD card imagePi Tin Final Assembly (Altoids Tin Version)
instructions for 503562 size battery (NOT included in kits as of 2026-01-12)
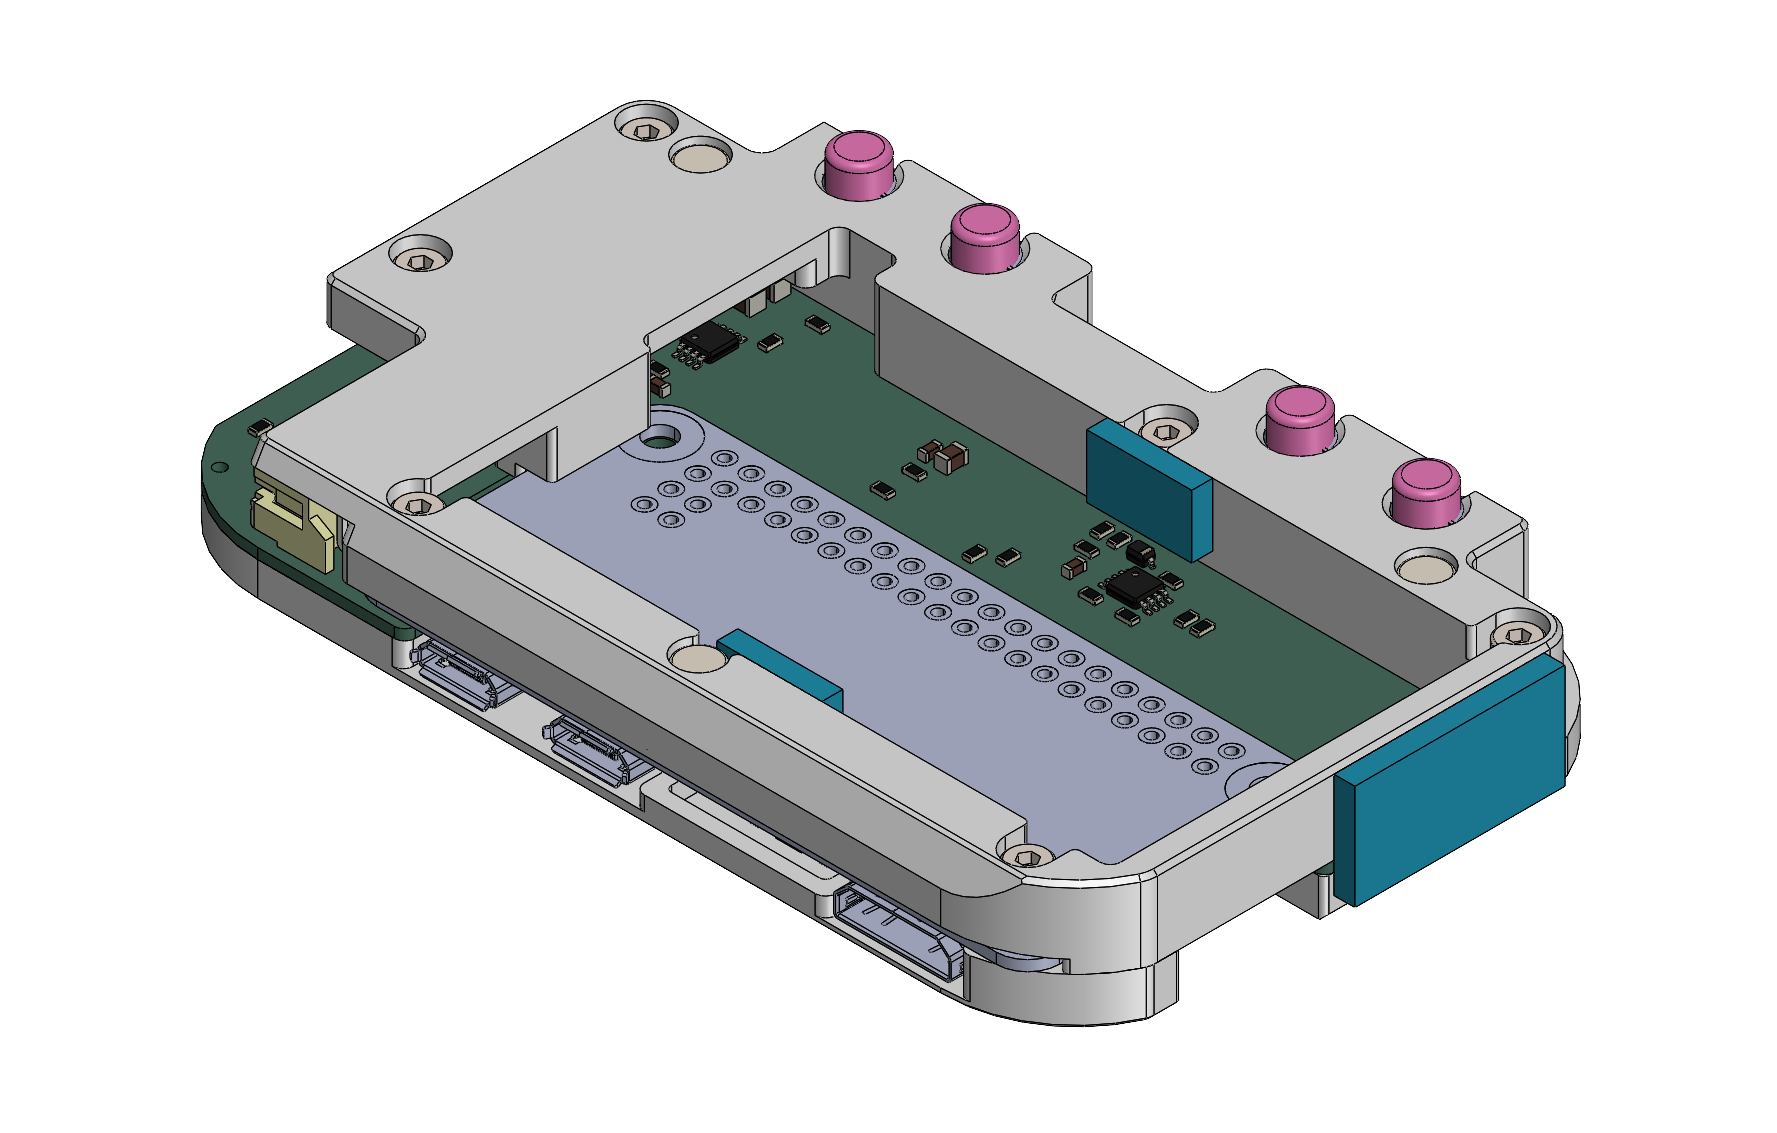
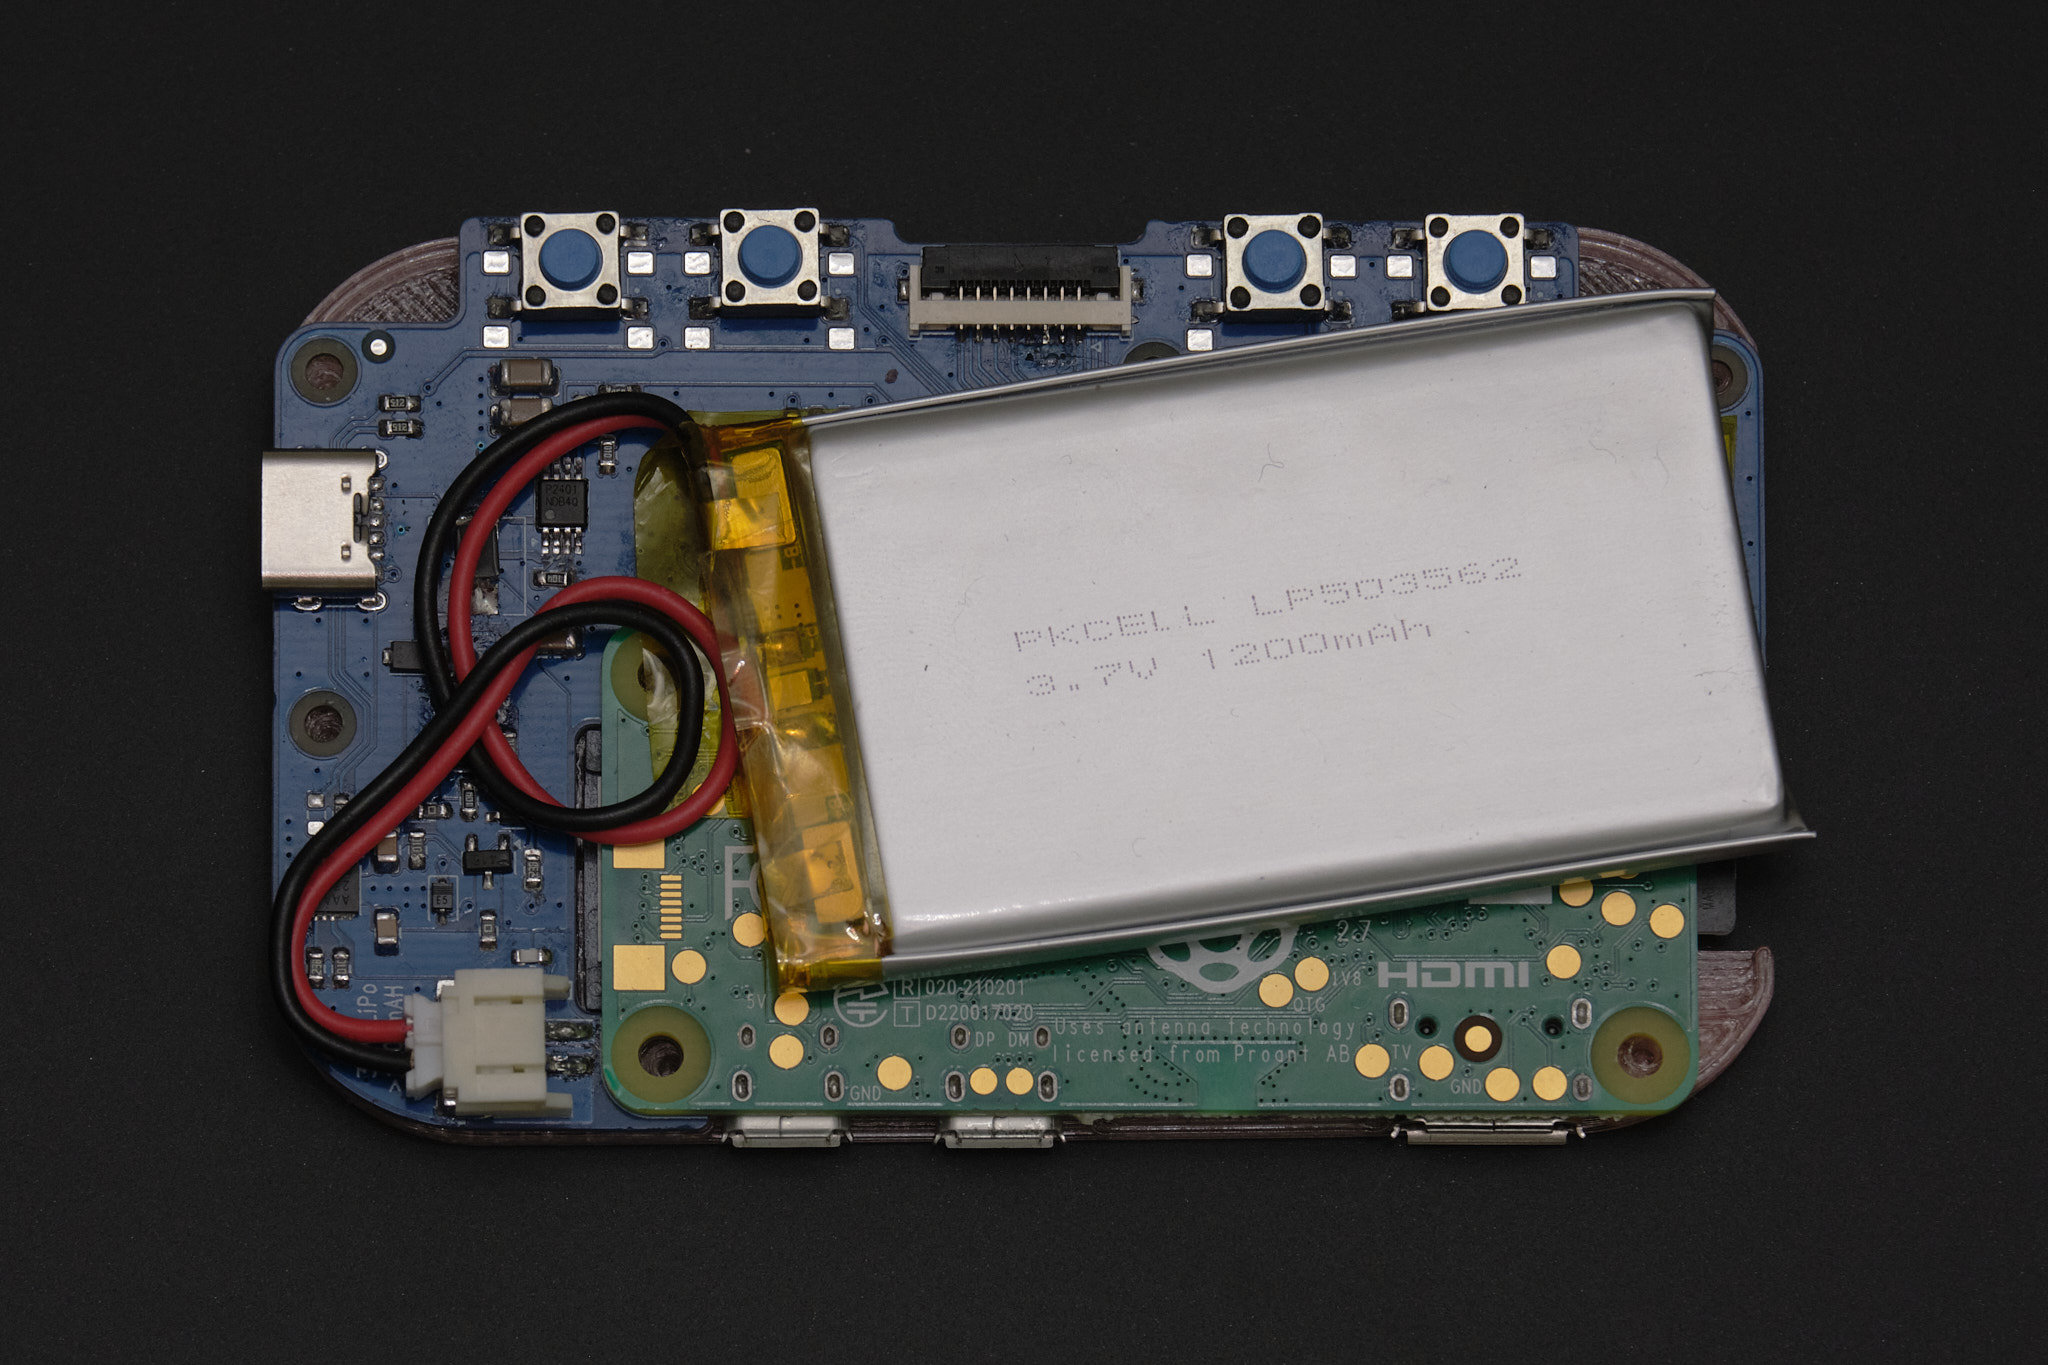
Place the Main PCB onto the assembled front panel and connect the battery, leaving a loop in the battery wires.
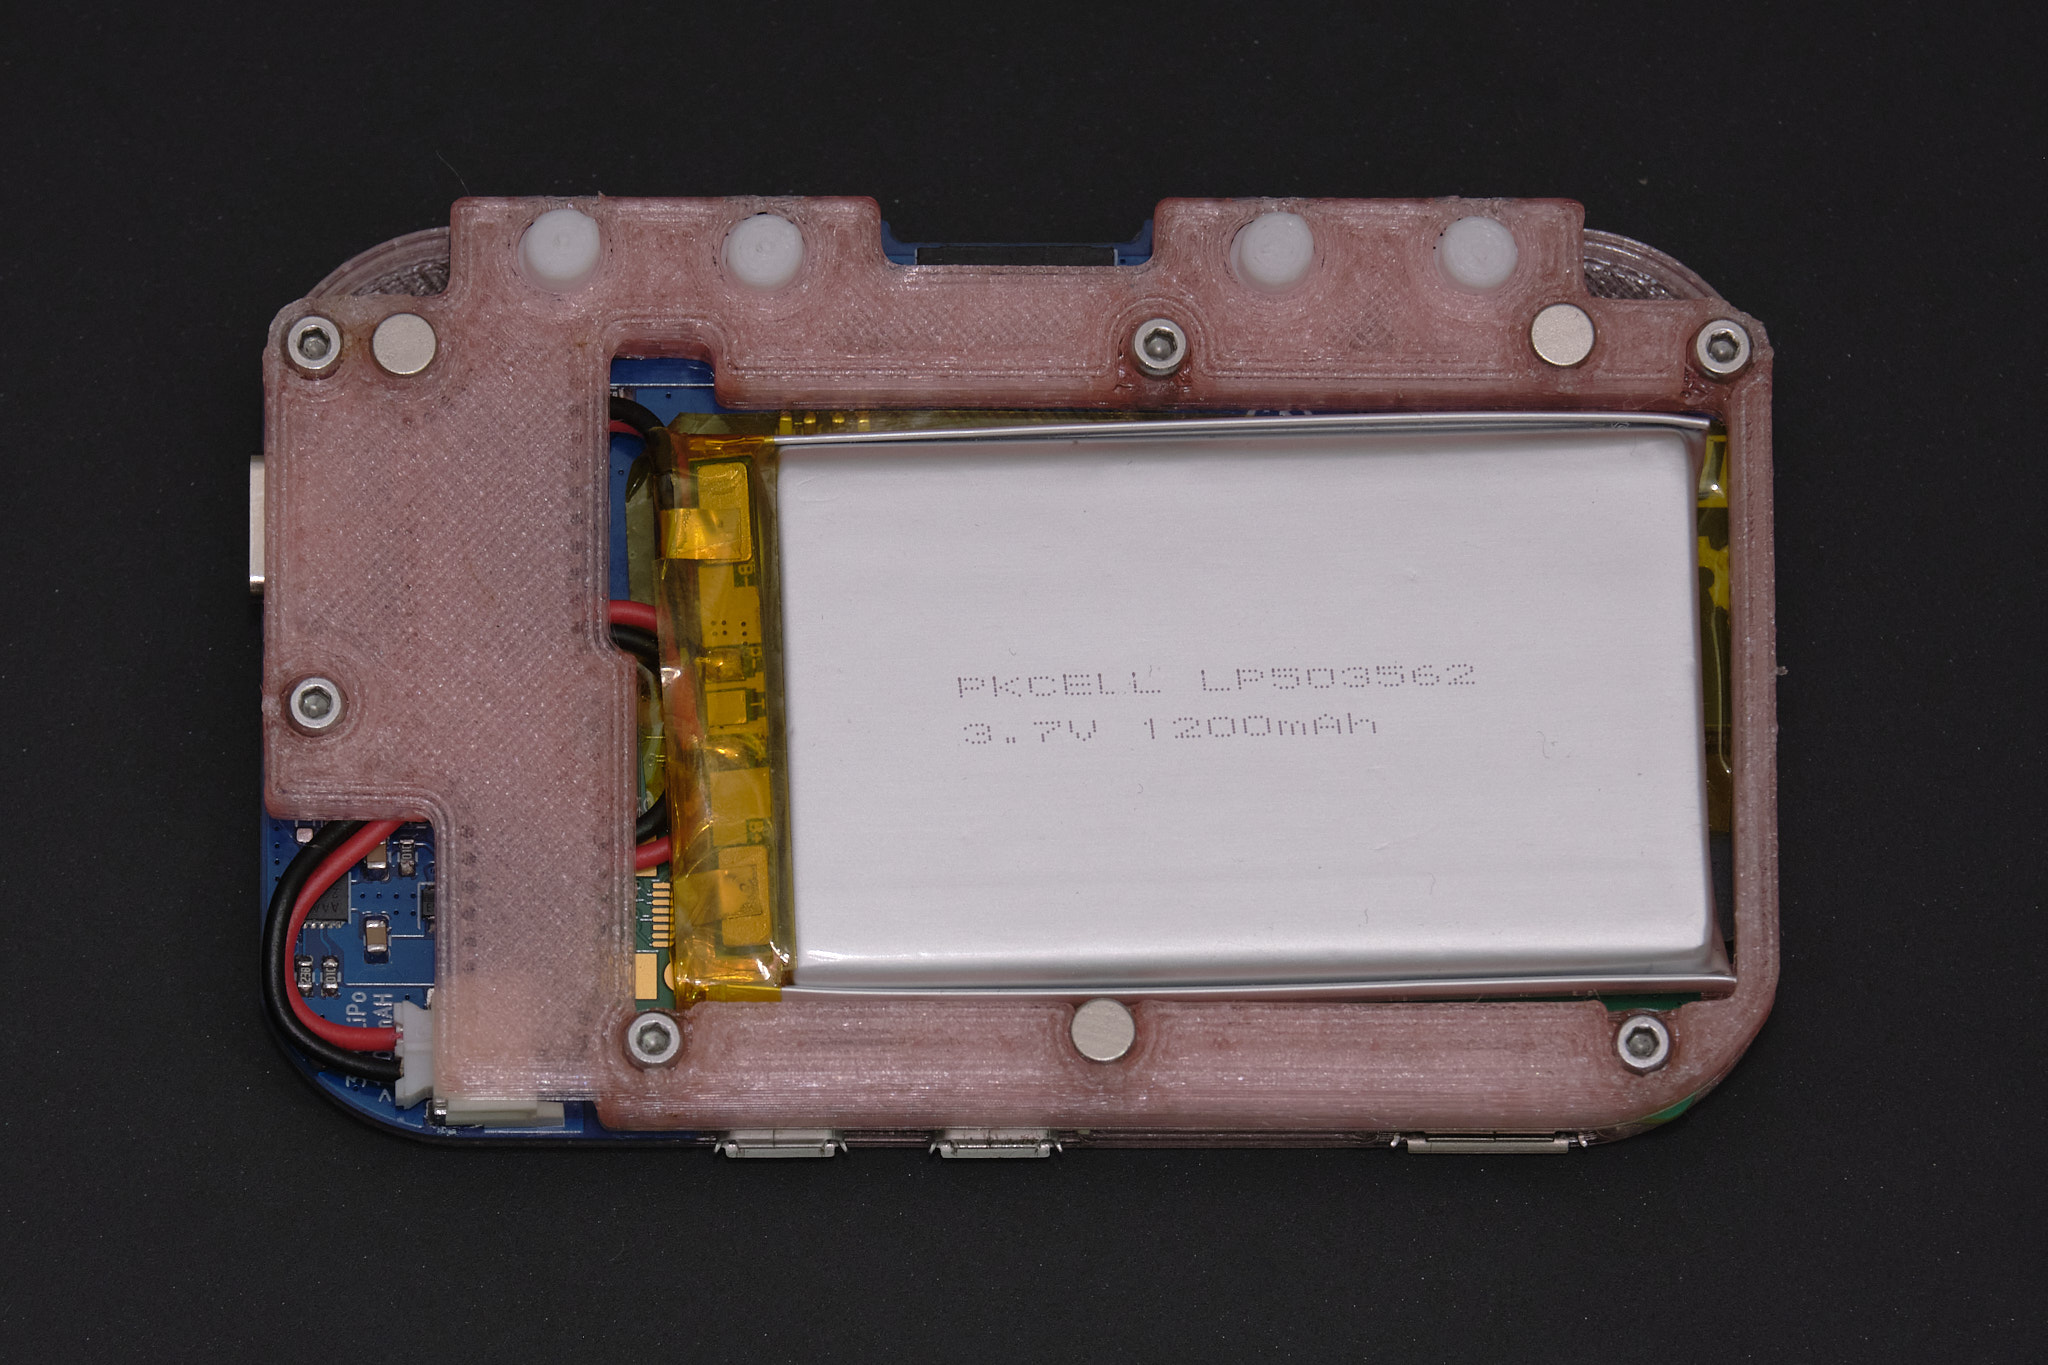
Insert the four rear buttons into the rear housing, then pick up the front panel and Main PCB together and mate them with the rear housing. The components should fit together closely without applying any force and the battery wires must not be pinched between the rear housing and PCB. Insert six M2x8mm socket head cap screws into the counterbore holes on the rear housing and tighten them in a star pattern. Do not overtighten the screws - stop tightening as soon as no gaps are visible between the edges of the 3D printed parts and the PCB.
Note: Some downward pressure is required when tightening the screws for the first time since they are threading directly into plastic.
Check that the buttons on the front panel are not stuck. If they are, it is likely due to misalignment of the 3D printed membrane or defects on the 3D printed parts that need to be trimmed off.
Apply two 6x10mm pieces and one 18x10mm piece of EPDM foam tape in the locations highlighted in blue below to cushion the battery and keep the assembly centered inside the mint tin.